Copyright © 2026 LOOP All Rights Reserved.
Mastering Digital Design - Master the Hand-Painted Texturing Style (Part 2)


Course Description
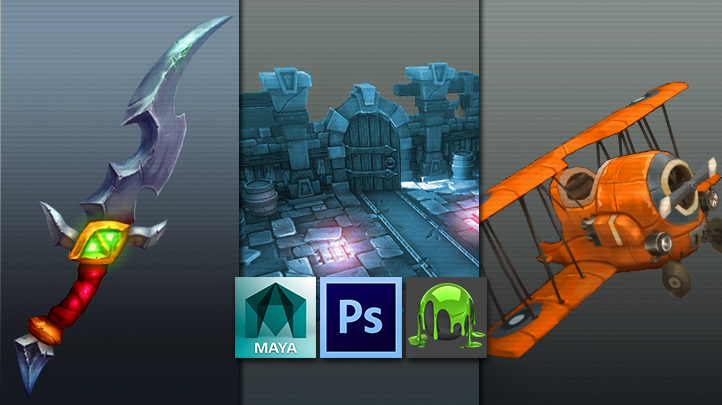
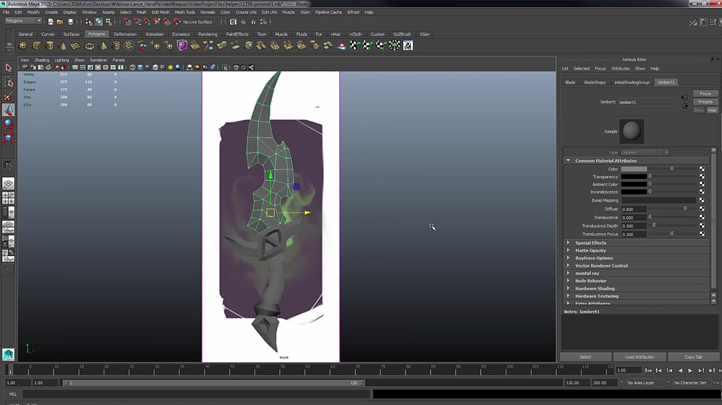
In the second part of Master the Hand-Painted Texturing Style, we will utilize a combination of Maya and Photoshop to take a concept for a stylized weapon and translate that into a fully realized low poly hand painted asset for use within a videogame environment. We'll also take a look at some of the process and techniques used to create the texture map, being sure to replicate the crafted look of the concept. Tools such as clipping masks, Variations and Dilation will be utilized to help keep our texture easy to maintain and looking neat for potential future revisions. Throughout the creation process we'll also touch upon how things relate to a production environment whilst also pointing out any areas which are likely to generate the need for some problem solving. At the end of this course you will be able to create and understand the workflow that I use to create stylized environments like this one.
Learn tips and tricks of creating dynamic animation and games design.
- Know about the different branches in animation
- Learn about what goes into making a successful animation
- Understand better about the designing process with this course
- Be able to create your own monsters and creatures at the end of this course
Course Objectives
1. Be fluent in Maya and Photoshop for stylizing objects
2. Know how to conceptualize an object in a videogame environment
3. Learn the process and techniques to creature textured map
4. Know different tools for object revisions
5. Learn how to relate things into a production environment
6. Know the workflow to create stylized environment
Related Courses

Mastering Digital Design - An Introduction to Visual FX for Games with UDK
SGD $189.00
Course Description
This course is intended for those with a more comfortable understanding of the Unreal Engine who have an interest in creating Particle FX or Visual FX. In this course, we take you through the process of setting up a complex particle system that warps a character in through a teleportation device, as well as an amazing look at "phasing" the character in to view! We'll look at creating the holographic projections you see in the scene, adding texture and distortion to the sequence, and then wrap up the series with an in-depth look at setting up a basic render and animating the camera and lights so that you can make your very own cut-scenes and cinematics! Learn tips and tricks of creating dynamic animation and games design. - Know about the different branches in animation - Learn about what goes into making a successful animation - Understand better about the designing process with this course - Be able to create your own monsters and creatures at the end of this course
Read more...
Mastering Digital Design - Learn Advanced Textures and Materials for Games and Film
SGD $189.00
Course Description
This advanced course focuses on creating advanced materials and textures like those seen in today’s standard of AAA games. We'll take an introductory look at UDK's material editor where will we cover the basics of importing textures and creating our own materials. Through this course, you can learn how to properly photograph textures, edit unnecessary lighting information out of your photographs, how to tile custom textures, extracting different types of visual information from your images and applying your textures in 3D. This course also briefly touches on physically based rendering in regards to photo real texturing and look development. Instructor Emiel Sleegers will be walking you through the process of texturing a suitcase asset using both Substance Designer and Substance Painter. Learn tips and tricks of creating dynamic animation and games design. - Know about the different branches in animation - Learn about what goes into making a successful animation - Understand better about the designing process with this course - Be able to create your own monsters and creatures at the end of this course
Read more...

Mastering Digital Design - Master the Hand-Painted Texturing Style (Part 1)
SGD $189.00
Course Description
This course will start with an introduction and teaches many of the advanced techniques talented artists use to create this style of 3d asset. We'll show you the creation process for low poly weapons with a strong emphasis on hand painted texture maps. We'll begin by modelling a sword in Maya 2011, show the unwrapping process, and take you step-by-step through creating hand-painted, stylized textures for both a sword and a shield asset. Following that, we'll dive into reviewing the concept art and blocking out some base shapes, and from there jump into the wonderful world of UV unwrapping. Next, we'll be taking a look at the different stone, metal, and wood surface types we'll be painting, discuss and decide where we can save some texture resolution by sharing UV space, and then get moving on bringing the texture and visual look and feel. Learn tips and tricks of creating dynamic animation and games design. - Know about the different branches in animation - Learn about what goes into making a successful animation - Understand better about the designing process with this course - Be able to create your own monsters and creatures at the end of this course
Read more...
Content
Hand Painted Dagger in Maya
Preview Available
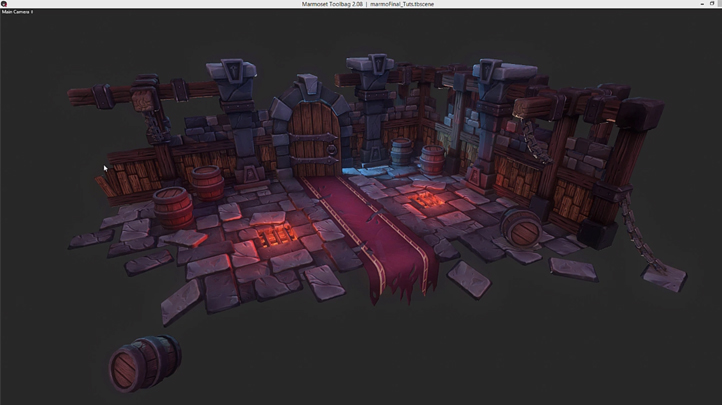
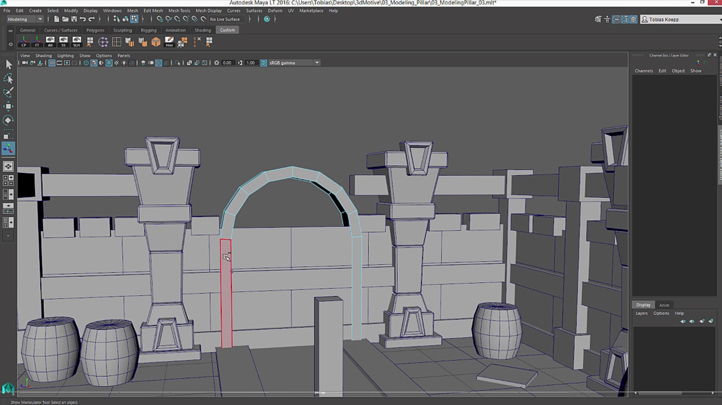
Stylized Dungeon in Maya - Volume 1
Stylized Dungeon in Maya - Volume 2
Stylized Dungeon in Maya - Volume 3
Stylized Dungeon in Maya - Volume 4
Mastering Digital Design - Master the Hand-Painted Texturing Style (Part 2)
- Duration 8 hr 57 mins
- Skill level All Levels
- Languages en_US
- Tag(s) NEW Design Games Design Animation
Convince your boss email
This site is best viewed using the latest versions of Google Chrome, Apple Safari, Mozilla FireFox, Microsoft Internet Explorer 11 and Edge which supports HTML5/Webkit technologies.